

Quick Steps at a Glance
- Remove every piece of packaging and check the cooking chamber before switching the appliance on.
- Wash and dry the removable basket, tray, and crisper plate as your manual directs.
- Put the air fryer on a stable, heat-safe countertop with the required ventilation clearance.
- Run an initial empty heating cycle only if your model manual instructs you to do so.
- Start with a simple food, such as frozen fries, and avoid overcrowding the basket.
- Shake or turn food partway through cooking, then add time in short increments if needed.
- Let the appliance cool and clean the removable parts after use.
Before You Start: Preparation and Setup
Take a few minutes to read the quick-start and safety pages that came with your air fryer. Models differ in their controls, maximum temperature, dishwasher-safe parts, required clearance, and whether they recommend preheating or an initial empty run.
- A basket air fryer usually has a pull-out basket and a crisper plate or tray.
- An air-fryer oven or range uses racks and may follow different preheat and placement instructions.
The manual wins whenever its instructions differ from a recipe, video, or this article.
Step 1: Unpack and Position Safely
Remove all cardboard, plastic, tape, and packaging from the appliance, basket, crisper plate, and interior. Look inside the cooking chamber before turning it on; no packing material should remain near the heating area.
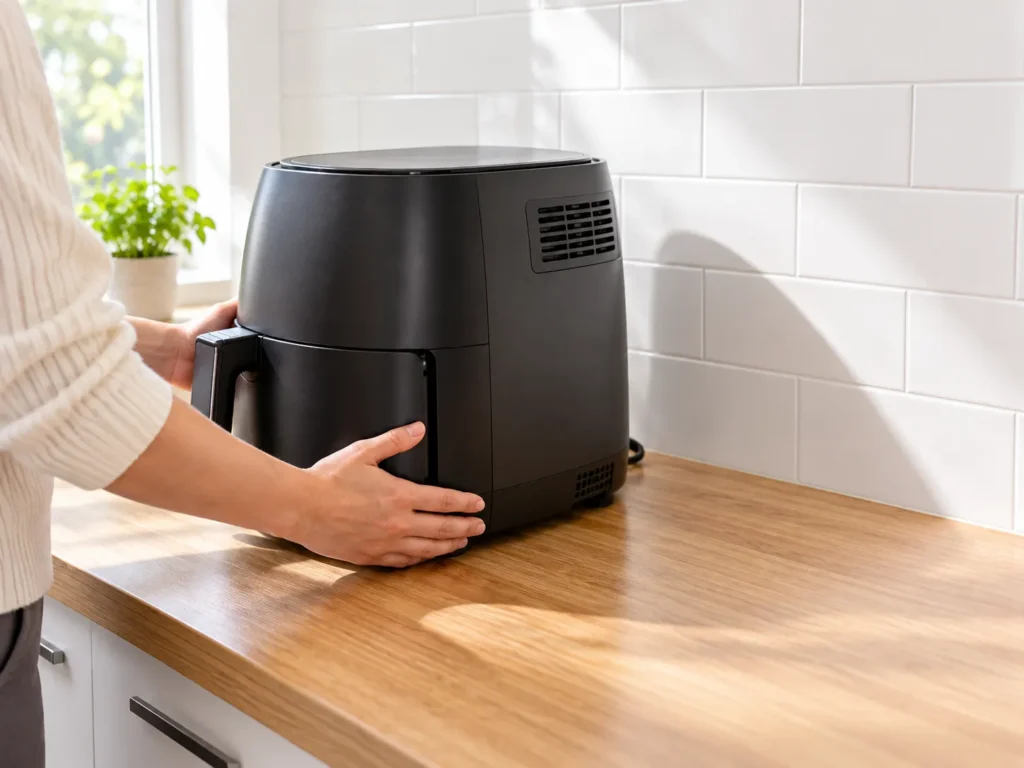
Place the air fryer on a stable, level, heat-safe countertop. Keep the exhaust vent clear and leave the amount of space from walls and cabinets specified in the manual. Do not run the appliance inside a closed cabinet or under anything that could be affected by heat or steam.
The basket and the area around it can become very hot during use. Plan where you will set a hot basket down before you begin, and use a heat-safe surface when your model requires one.
Step 2: Wash All Removable Components
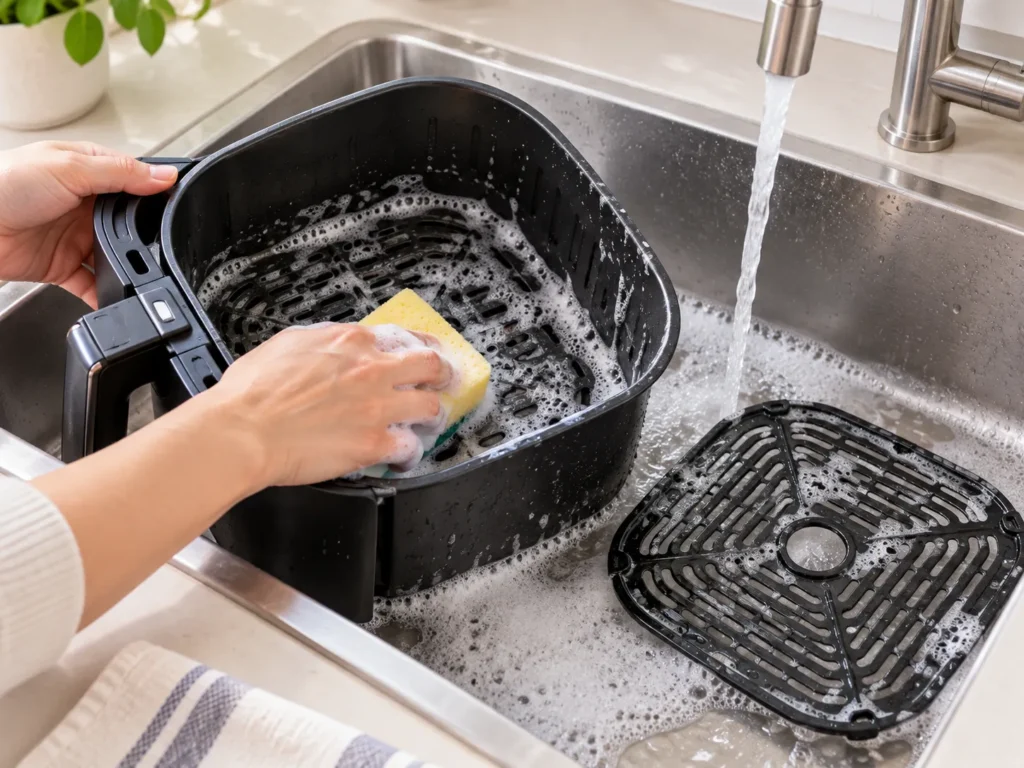
Before cooking, wash the basket, crisper plate, tray, and any other removable food-contact pieces as directed by the manufacturer. Warm soapy water and a soft cloth or sponge are usually appropriate; check the manual before putting anything in the dishwasher.
Avoid abrasive scrubbers and utensils that can damage a nonstick coating. Wipe the outside of the main unit as needed, but never immerse the powered base, cord, or plug in water.
Dry the removable pieces, reassemble the basket correctly, and make sure it slides into the unit smoothly.
Step 3: Run the Initial Test Cycle Only If Your Manual Requires It
Some air fryers instruct owners to run the empty appliance briefly before the first cook. Others do not. If your manual calls for a first-use heating cycle, follow its stated temperature, time, ventilation, and safety instructions exactly.
You may notice a “new appliance” smell during an initial run. Keep the area ventilated and stop using the unit if you see excessive smoke, a burning smell that does not clear as the manual describes, damage, or another issue that concerns you. Contact the manufacturer rather than trying to diagnose an electrical problem yourself.
Do not assume that every air fryer needs an empty test run, and never place loose parchment paper or other light accessories in an empty, running basket unless your manufacturer specifically permits it.
How to Get Rid of an Air Fryer Plastic Smell on First Use
First, complete only the initial heating or cleaning process specified in your model manual, with the kitchen well ventilated. Once the appliance has cooled, wash the removable food-contact parts again as directed and make sure no packaging remains in the cooking chamber.
Do not add water, vinegar, lemon, or other liquids to an empty basket—or extend an empty heating cycle—unless your manufacturer specifically says that method is safe for your model. If a sharp chemical smell persists beyond the manufacturer-described first-use process, or if you see unusual smoke, stop using the appliance and contact the manufacturer.
How to Cook Your First Meal (Step-by-Step)
Step 4: Understand the Controls and Settings
Most air fryers let you choose a temperature and a cooking time. Preset buttons can be convenient, but the manual controls are worth understanding because recipes and food packages do not always match your model.
- Start with the package directions or a tested recipe.
- Check whether it calls for preheating and compare that with your appliance manual.
- Set a shorter first check than the full suggested cooking time.
- Pull the basket out carefully to inspect, shake, rotate, or flip the food if needed.
- Add time in small increments until the food is cooked and browned to your preference.
Air fryers cook efficiently, and the basket is already hot for later batches. That is why a second batch can cook differently from the first.
Step 5: Start with Frozen Fries (the Ideal Test Food)
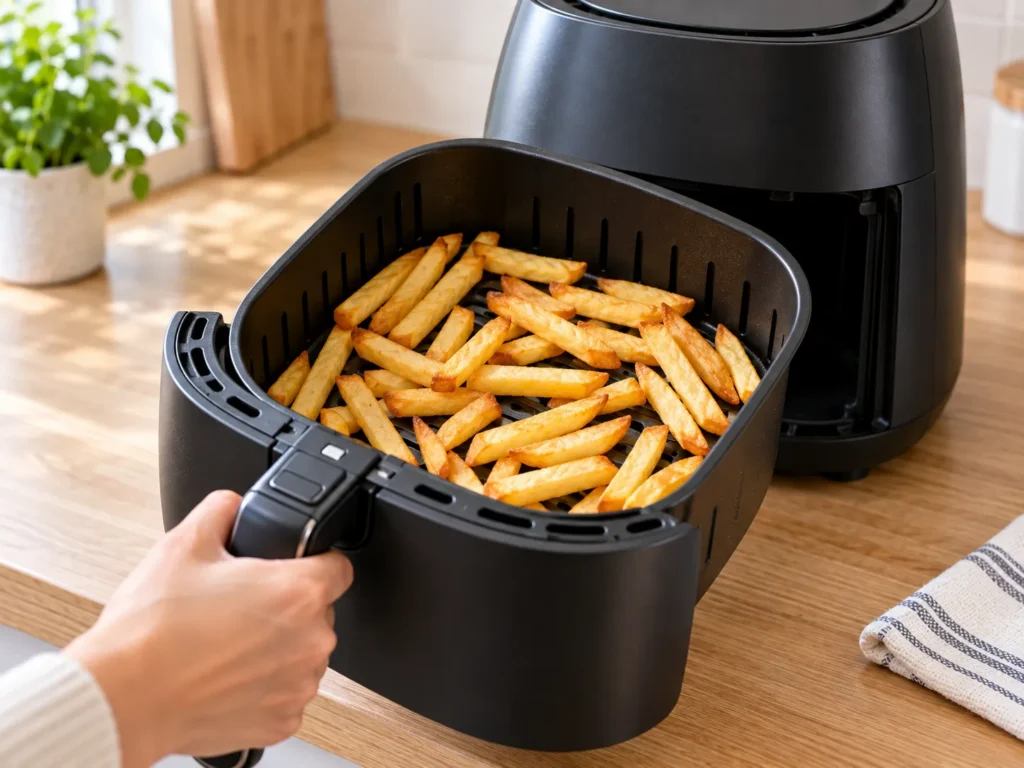
Frozen fries are a forgiving first cook because they are easy to load, easy to shake, and let you see how quickly your air fryer browns food.Use the instructions on the package as your starting point, then adjust for your appliance. If you want time and temperature guidelines for other staples, check out our air fryer frozen food cooking chart.
For many standard frozen fries, a useful starting test range is 380°F–400°F (190°C–205°C) for 12–15 minutes, with a shake at about the 7-minute mark. Treat that range as a practical reference—not a universal rule—and prioritize your food package and air-fryer manual.
Simple First-Cook Workflow
- Preheat only if your manual or the food instructions call for it.
- Add fries in a loose, even layer. A little overlap is usually fine, but do not pack the basket tightly.
- Cook at the package-recommended air-fryer setting, or use the closest setting your model provides.
- Shake the basket about halfway through cooking. If the recipe needs more than one shake, set a reminder rather than relying on memory.
- Check color and texture near the end. Add a few minutes at a time if you want a crispier result.
- Remove food carefully, remembering that the basket and crisper plate are hot.
Beginner Food Quick Reference
Use these as first-test ranges only. Package instructions, appliance guidance, food thickness, and basket loading can change the result.
| Food item | Starting temperature | Starting time | Key action |
|---|---|---|---|
| Frozen thin fries | 400°F (200°C) | 12–15 minutes | Shake the basket at about 7 minutes. |
| Frozen nuggets | 380°F (190°C) | 10–12 minutes | Turn or shake once midway through. |
| Frozen chicken wings | 380°F (190°C) | 20–25 minutes | Turn partway through and verify a safe internal temperature. |
Step 6: Master Airflow and Basket Spacing
Good airflow is the core of air frying. If food is piled into a dense layer, hot air cannot circulate as well, so the outside may brown unevenly and the food may steam instead of crisp.
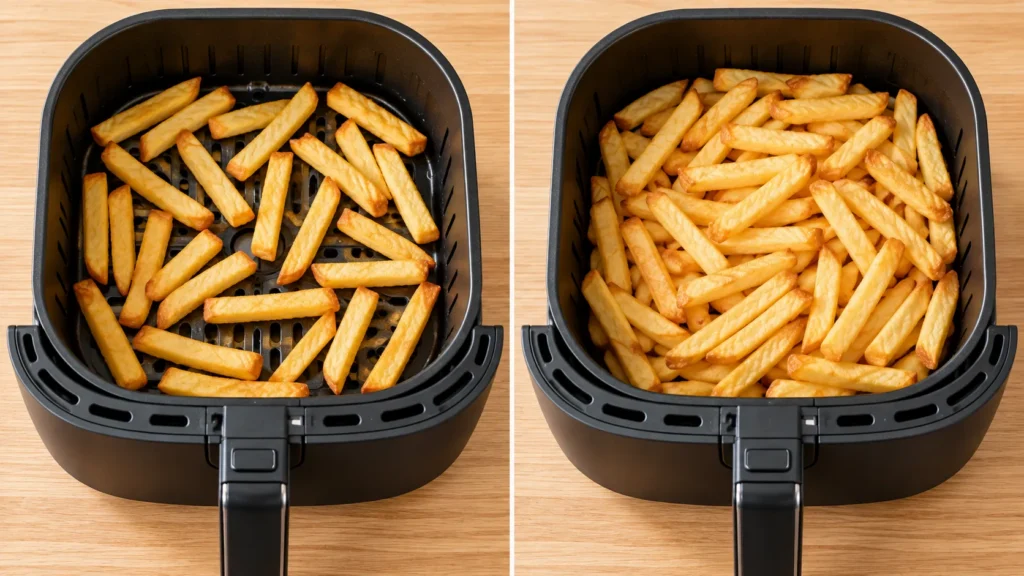
- Use a single layer when possible.
- Cook in batches when the basket is crowded.
- Shake small pieces such as fries, nuggets, or vegetables partway through.
- Flip larger pieces of food when the recipe calls for it.
- Pat naturally wet foods dry when a recipe needs a crisp exterior.
Step 7: Safe Use of Oil, Foil, and Liners
Many foods need little oil, while others benefit from a light coating to help browning or make seasonings stick. Skip aerosol cooking sprays unless your appliance manufacturer explicitly approves them: some manufacturers warn that cooking-spray ingredients can harm or chip certain basket coatings. A pump-style oil mister or a light brush of oil gives you a more controlled alternative.
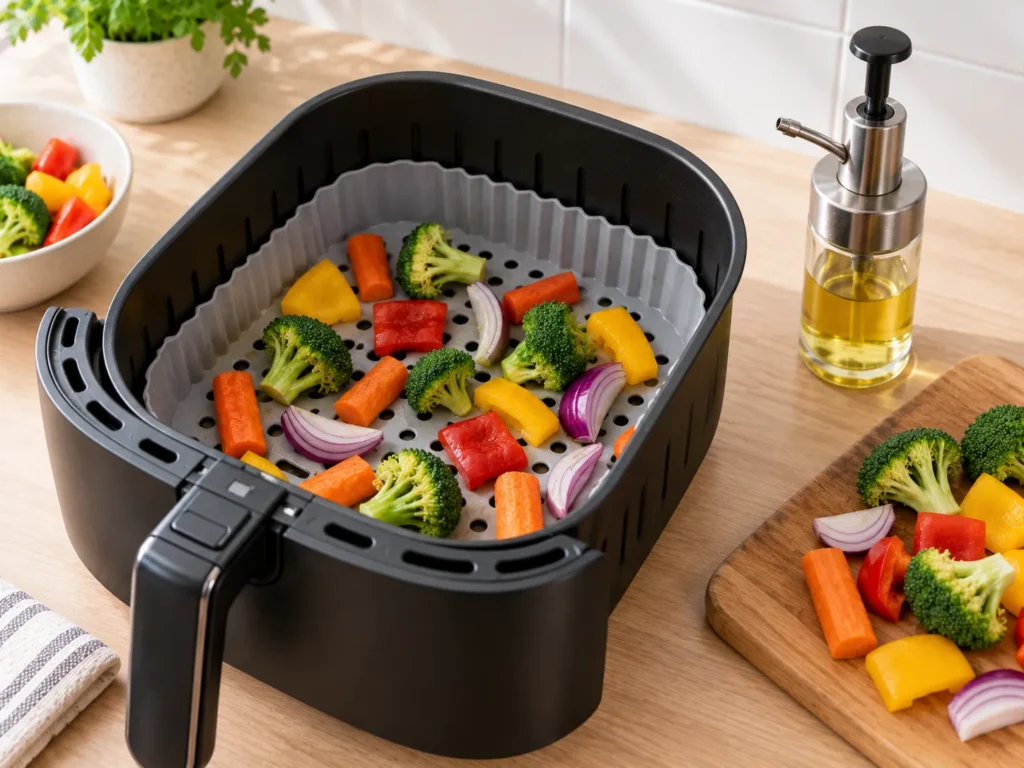
Parchment, foil, and silicone accessories can make cleanup easier, but they can also block airflow or create a safety issue if they are too loose, too large, or not approved for the model. Use only accessories that fit securely, keep food weighed down as appropriate, and do not cover vents or the entire perforated surface.
Step 8: Check Internal Doneness for Proteins
Air fryers brown food quickly, but color alone does not prove that meat is safely cooked. For chicken, pork, fish, burgers, and other proteins, use an instant-read thermometer when food-safety guidance calls for one. Check the thickest part of the food without touching bone or the basket, and follow the applicable safe-temperature guidance for that ingredient.
Cleaning and Maintenance After Use
Step 9: Cool Down and Wash Safely
Let the air fryer cool before cleaning it. Remove crumbs, food residue, and grease after each use so they do not burn onto the basket during the next cook.
Wash the removable parts according to the manual. Use a soft sponge for stuck-on residue, dry the components, and reassemble them only when they are ready to use.
Common First-Time Air Fryer Mistakes to Avoid
Overfilling the Basket
More food is not always faster. Crowding prevents airflow and can leave food pale, soggy, or unevenly cooked. Split a large amount into batches.
Assuming Every Recipe Needs the Same Preheat
Some countertop air fryers preheat quickly, while others do not require it for many foods. Use the manufacturer instructions and the recipe as your starting point.
Setting the Full Time and Walking Away
For foods that need shaking or flipping, use a midpoint timer. Checking early is especially helpful when trying a new recipe or appliance.
Using Accessories Without Checking Fit and Airflow
An oversized liner, unsecured parchment, or incorrectly placed foil can interfere with the fan-driven cooking process. Use accessories only as the manufacturer allows.